

Today's pizza has a long and interesting history. In the 3rd century B.C., Romans ate a "flat round of dough dressed with olive oil, herbs, and honey, baked on stones." In 16th century Europe the tomato was believed to be poisonous, as most fruits of the nightshade family are, but by the late 18th century, cooks around Naples were adding it to their yeast-based flatbread: the dish now known as pizza was born.
In ancient Naples, pizza was considered 'poor man's food,' but then, as now, people started talking, and visitors ventured into the city's poorer areas to try the local specialty. Pizza's popularity was undeniable even then.
Popular pizza lore holds that Via Port'Alba 18 in Naples was the first 'official' pizzeria. Still in business today, according to Wikipedia, the location was established in 1738 as a stand for street vendors, who would make pizza in wood-fired ovens, then peddle it on the street, keeping the pies warm in small copper stoves they balanced on their heads.
Eventually, the restaurant Antica Pizzeria Port'Alba opened, replacing the peddlers with a more formal location. Legend has it that the eatery's ovens have been lined with lava rocks from nearby Mount Vesuvius since its inception.
 |
| photo courtesy of Wikipedia |
In America, the first pizzeria is rumored to have been established in a grocery store opened by Gennaro Lombardi, an Italian immigrant, in Manhattan's Little Italy in 1897. An employee of his, Antonio Totonno Pero, began making pizza for the store to sell that same year. In 1924, Totonno left Lombardi's to open his own pizzeria on Coney Island called, funnily enough, Totonno's (recently reopened, click here). While the original Lombardi's closed its doors in 1984, it was reopened in 1994 just down the street and is run by Lombardi's grandson.
It doesn't take long to make your own sauce and dough. The recipes that follow make enough sauce for four or more medium pizzas (depends on how much sauce you like on your pie), and the dough recipe makes three medium-sized pies - you can double this recipe and make six if you would like. Still, if you are going to make more than double the recipe, it is best to mix up multiple small batches. Keep the extra sauce and dough in the freezer, then when you are in a rush, you can defrost and let the children help roll out the dough, or invite friends over for a 'pick your own toppings' pizza party.
Until the 1970s, lard was often used instead of olive oil to make pizza dough (click to learn how to render your own lard). It makes a noticeable difference in how the dough rises and bakes. I love the 70's, and I love pizza, so I offer these recipes in the tradition of making your own pizza. Plan on making the sauce and dough a day ahead of time (another reason for making a bigger batch for the freezer). If you are serious about your pizza, invest in a pizza stone, it is great for reheating cold pizza, or paninis, or grinders, as well as making your fresh pies crisp and delicious.

PIZZA DOUGH
INGREDIENTS
3 ½ cups unbleached All-Purpose Flour
1 tablespoon Yeast (1 packet Quick Rising Yeast)
1/2 cups Warm Water
3/4 cup Ice Cold Water
1 tablespoon Lard
1 teaspoon Salt
1 teaspoon Honey
Cornmeal for dusting

DIRECTIONS
Put yeast in a large cup with a half cup of warm water. Add 2 tablespoons of flour, 1 tablespoon Lard, and honey. Leave the mixture in the cup to rise for half an hour in a warm place. You'll know it is rising because it will bubble and expand.
Next, place the remaining 3 1/2 cups flour into your kitchen mixer with a dough hook, pour in the risen yeast "water," beating at low speed. Add 3/4 cup of ice-cold water to mix a little at a time. Mix on the lowest speed for 10 to 12 minutes. You should be able to form a soft dough ball.

If the dough is too wet and doesn't come off the bowl's sides, sprinkle in some more flour just until it clears the sides. If it is too dry, dribble in a teaspoon or two more of cold water. The finished dough needs to be elastic and slightly sticky. It may take a few tries to get this right, but don't give up!
Leave the dough in the mixing bowl, cover with a kitchen towel and let it rise for an hour and a half or until double in size, in a warm place. If it is in the cold winter months or in a rush, I'll put the oven setting to warm and set the mixing bowl in the oven.
Divide the “risen” dough into 3 equal parts, form into 3 balls. Coat each ball lightly with olive oil; place in a covered container or plastic freezer bag, and sit in the refrigerator overnight. Use within the next three days or place in the freezer for several weeks.

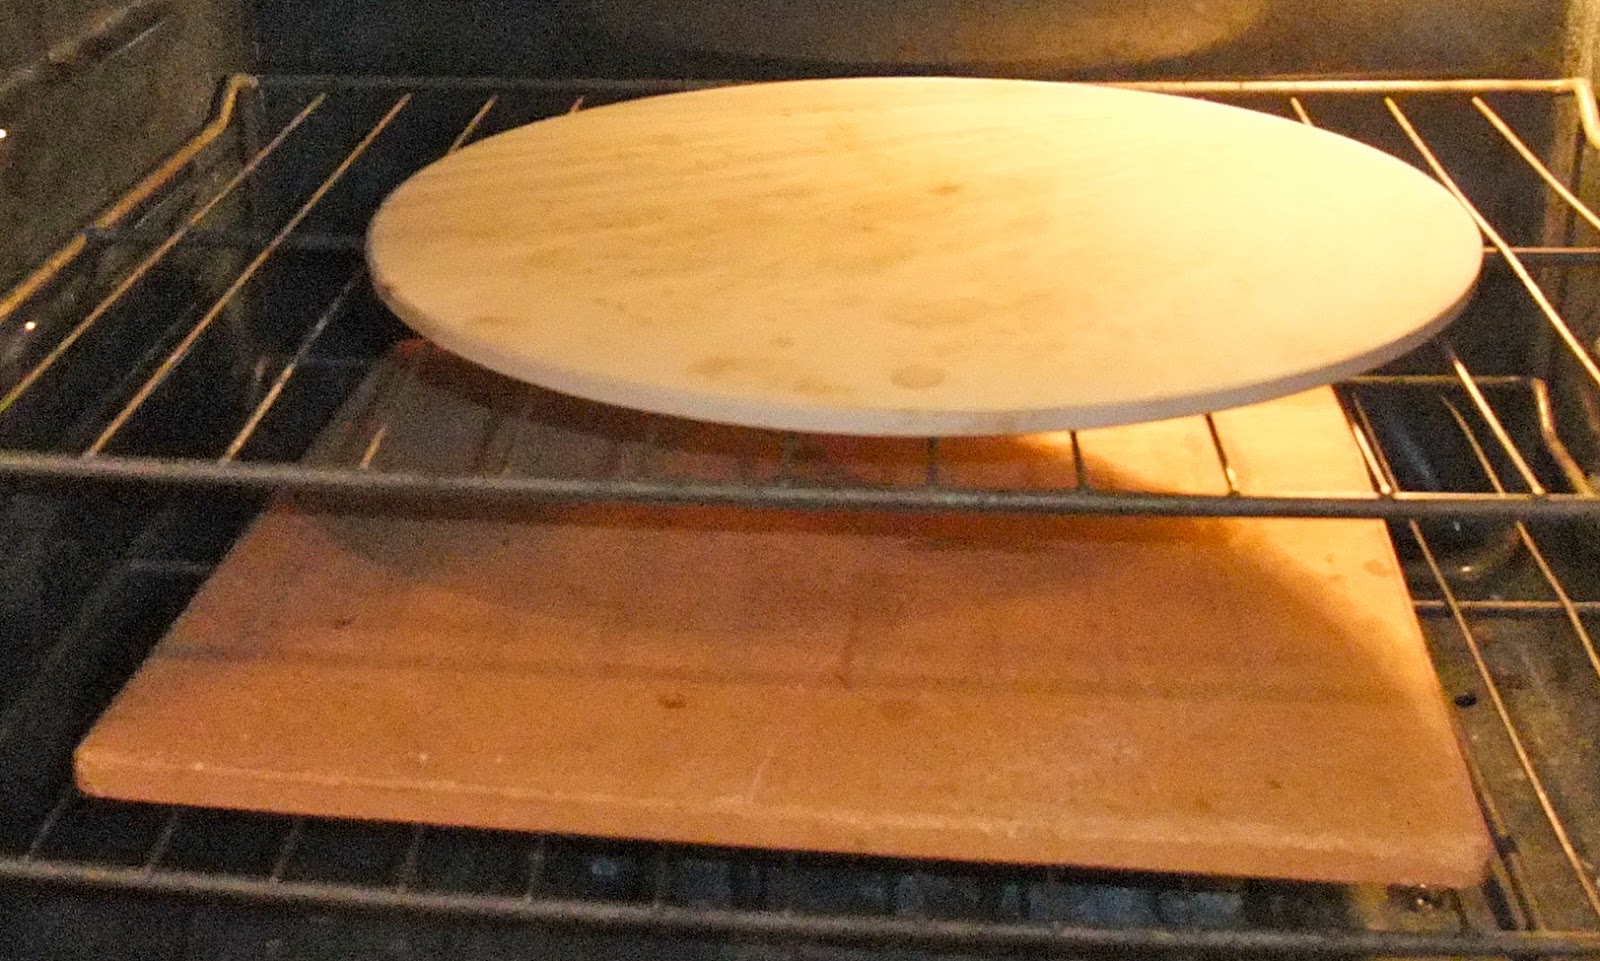
At least 45 minutes before making the pizza, place a baking stone on a rack in the lower third of the oven. Heat the oven as hot as possible, up to 800F (most home ovens will go only to 500 to 550F, but some will go higher). If you do not have a baking stone, you can use the back of a sheet pan, but do not preheat the pan.
Make the pizzas one at a time. Generously dust a peel - A peel is a shovel-like tool used by bakers to slide pizzas and other baked goods into and out of an oven - or use the back of a sheet pan with cornmeal.
Coat your hands in flour and start with one piece of dough. Gently stretch the dough by softly pulling in a circular motion, carefully giving it a stretch. Work with small pulls. If it begins to stick to your hands, lay it on the floured counter, re-flour your hands, and then continue shaping it. You can use a rolling pin or push/pull with your fingers on the countertop, though this isn't as effective (or as fun) as the traditional toss method.
When the dough is stretched out to your satisfaction (between 12 and 14 inches), lay it on the peel or pan, making sure there is just enough cornmeal to allow it to slide. Lightly top it with sauce and then with your other toppings; remember that the best pizzas are topped with a less-is-more philosophy, for taste as well as cooking.
When the dough is stretched out to your satisfaction (between 12 and 14 inches), lay it on the peel or pan, making sure there is just enough cornmeal to allow it to slide. Lightly top it with sauce and then with your other toppings; remember that the best pizzas are topped with a less-is-more philosophy, for taste as well as cooking.
Slide the dressed pizza onto the stone (or bake directly on the sheet pan) and close the oven door. Wait 2 minutes, then take a peek. If it needs to be rotated for even baking, turn your stone (pan). The pizza should only take 8 to 10 minutes to bake, depending on the oven.
If the top gets done before the bottom, you will need to move the stone to a lower shelf before the next round. If the bottom crisps before the cheese melts, you will need to raise the stone up a shelf for subsequent bakes. This recipe yields three 12 to 14-inch thin-crust pizzas.
HOMEMADE PIZZA SAUCE
(Enough for 4 to 8 Medium Pizzas)
INGREDIENTS
1 lb crushed Tomatoes
1 Tablespoon minced Garlic
4 oz. Tomato Paste
1 Tablespoon Basil
1 Tablespoon Olive Oil
2 Tablespoons Butter
1 Tablespoon minced Onion
1 teaspoon Marjoram
2 teaspoons dried Oregano
Pepper to taste
DIRECTIONS
Over medium-low heat, sauté the onion and garlic in the olive oil and butter for 4 to 5 minutes. The bits should be golden brown and fragrant but be careful not to overcook. Add the other ingredients.
Simmer the sauce for 15 to 20 minutes.
Jar up and store in the refrigerator. I have found that this sauce tastes better after it rests for a few days. You can also spoon into freezer bags and freeze for later use. Freeze up to a year, refrigerate up to 2 months in a tightly sealed container - but I can pretty much guarantee it will not last more than a few weeks.
Spread thinly on your pizza crust, top with favorite toppings and cheese. Bake according to the above instructions.
Let your pizza rest for a few minutes when it comes out of the oven before slicing and serving.


